Hardware
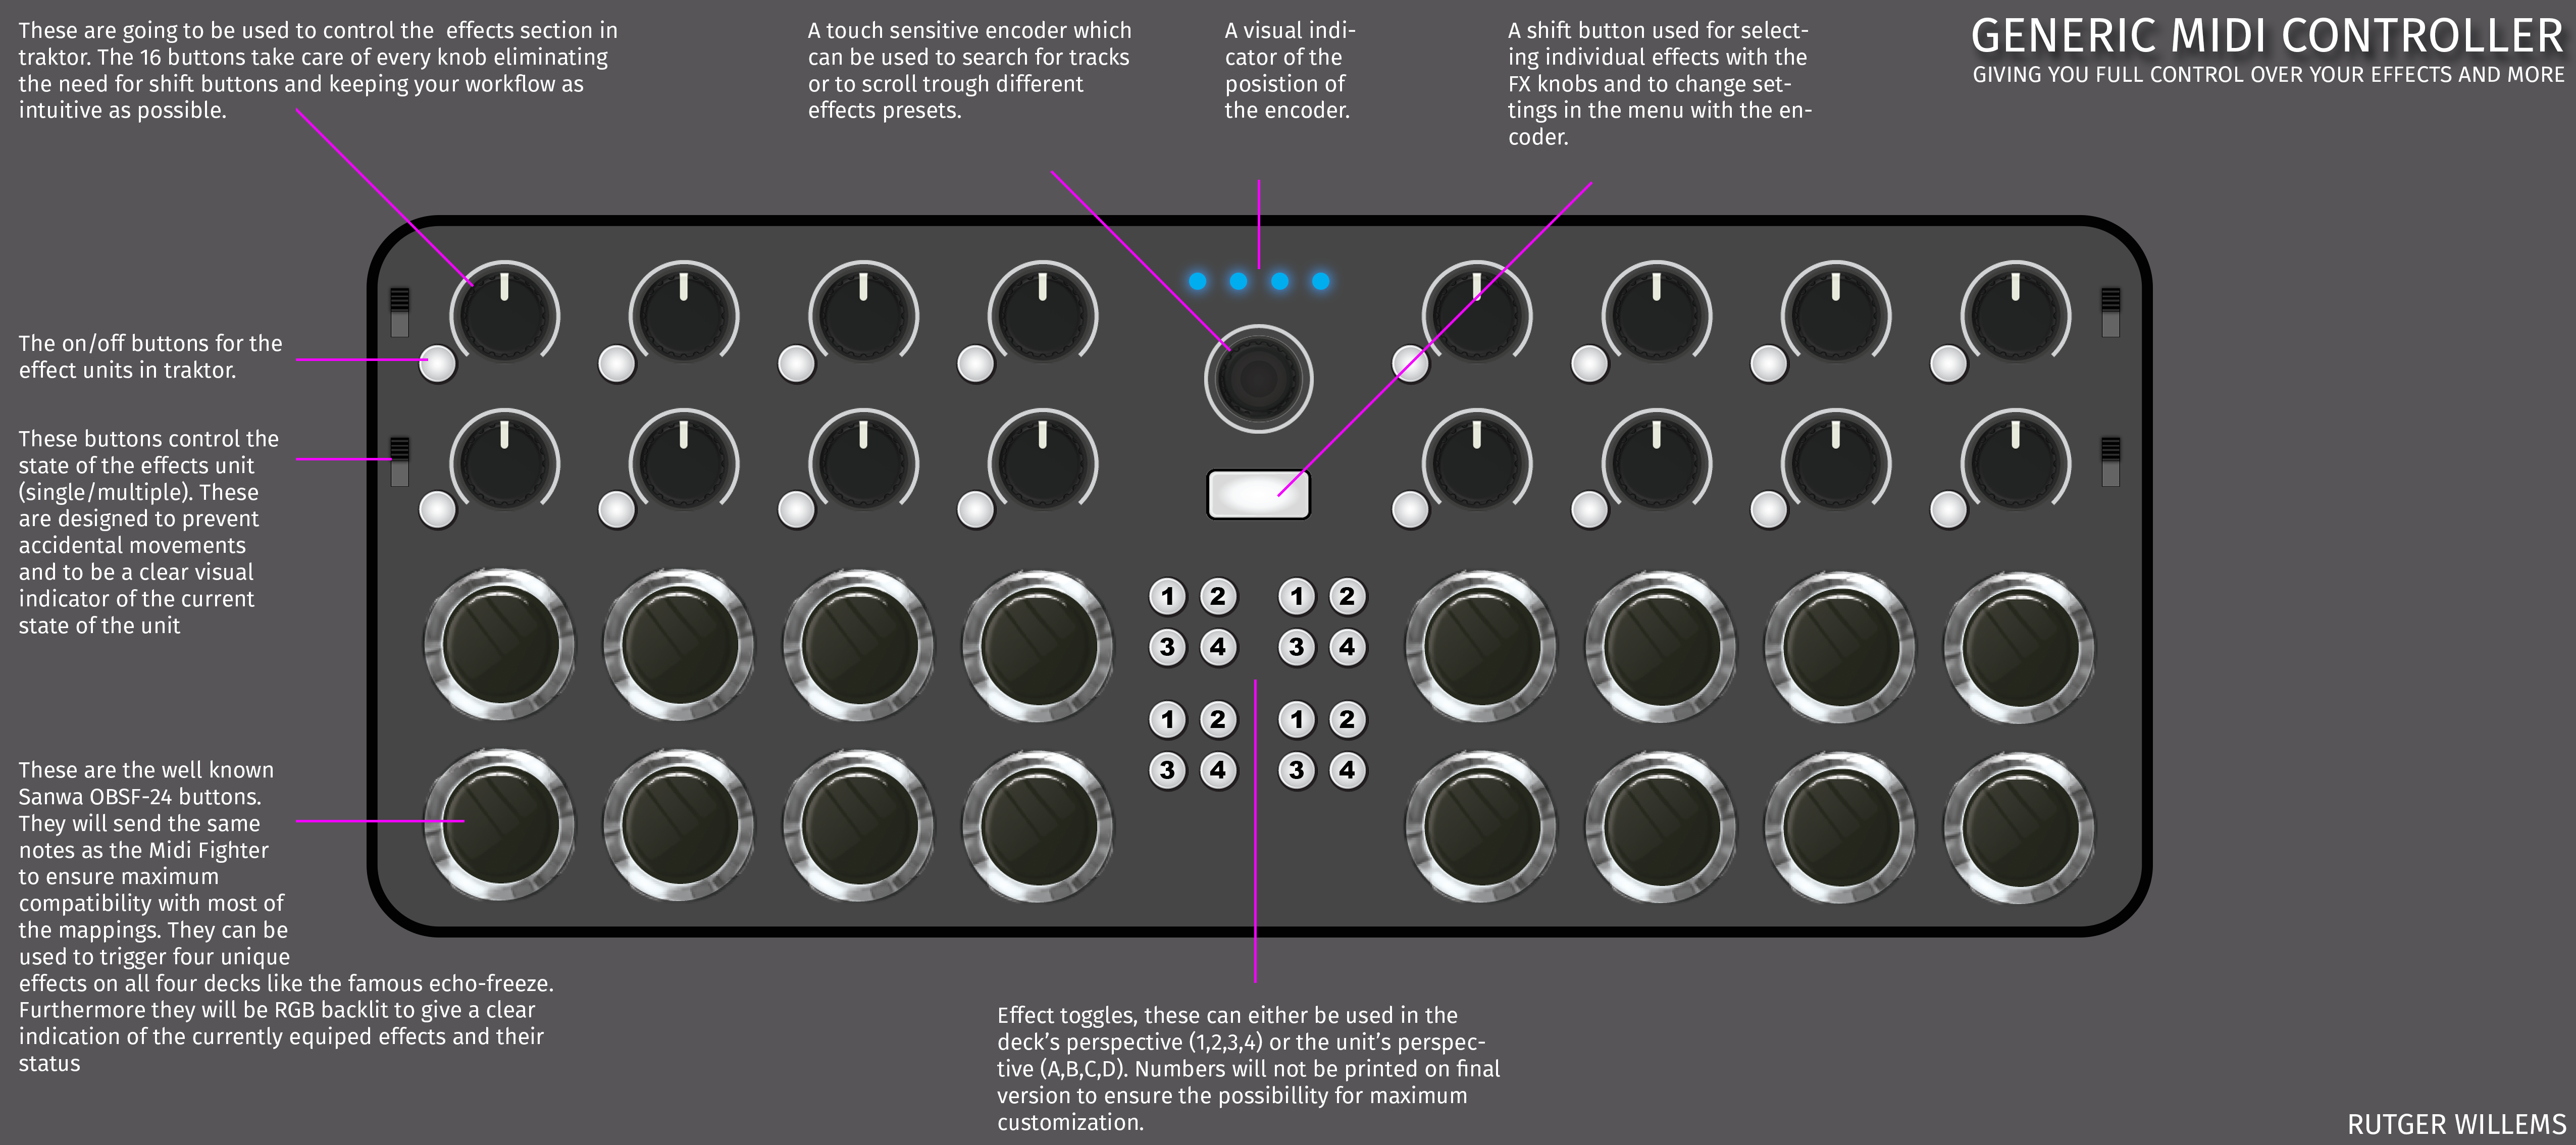
The "Generic MIDI controller"
The "Generic MIDI controller"
Diclaimer: I published this on a forum I joined at the age of 15 so some of the writing may be a little less than perfect but I decided not to edit anything when moving this to my own blog from the DJTT forum (opens new window) on 3-11-19.
I've been researching DIY midi controllers for as long as I am a member of DJTT. However it has always been difficult for me to settle on a design that really suits my needs instead of a quick project that I do not actually need. One thing I notice a LOT is that I would like to have a dedicated controller for my effects that enables me to control all of them without the need for shift buttons or weird button placement. I think this design is the solution for me. This controller is going to be placed behind a standard 12" mixer.
Design
First of all I would like to thank DJTT for the design pack for the "Midi Fighter X contest" that helped me create this. Here it is:
Schedule
- 25-07-15 Order all parts (buttons, pot's, teensy)
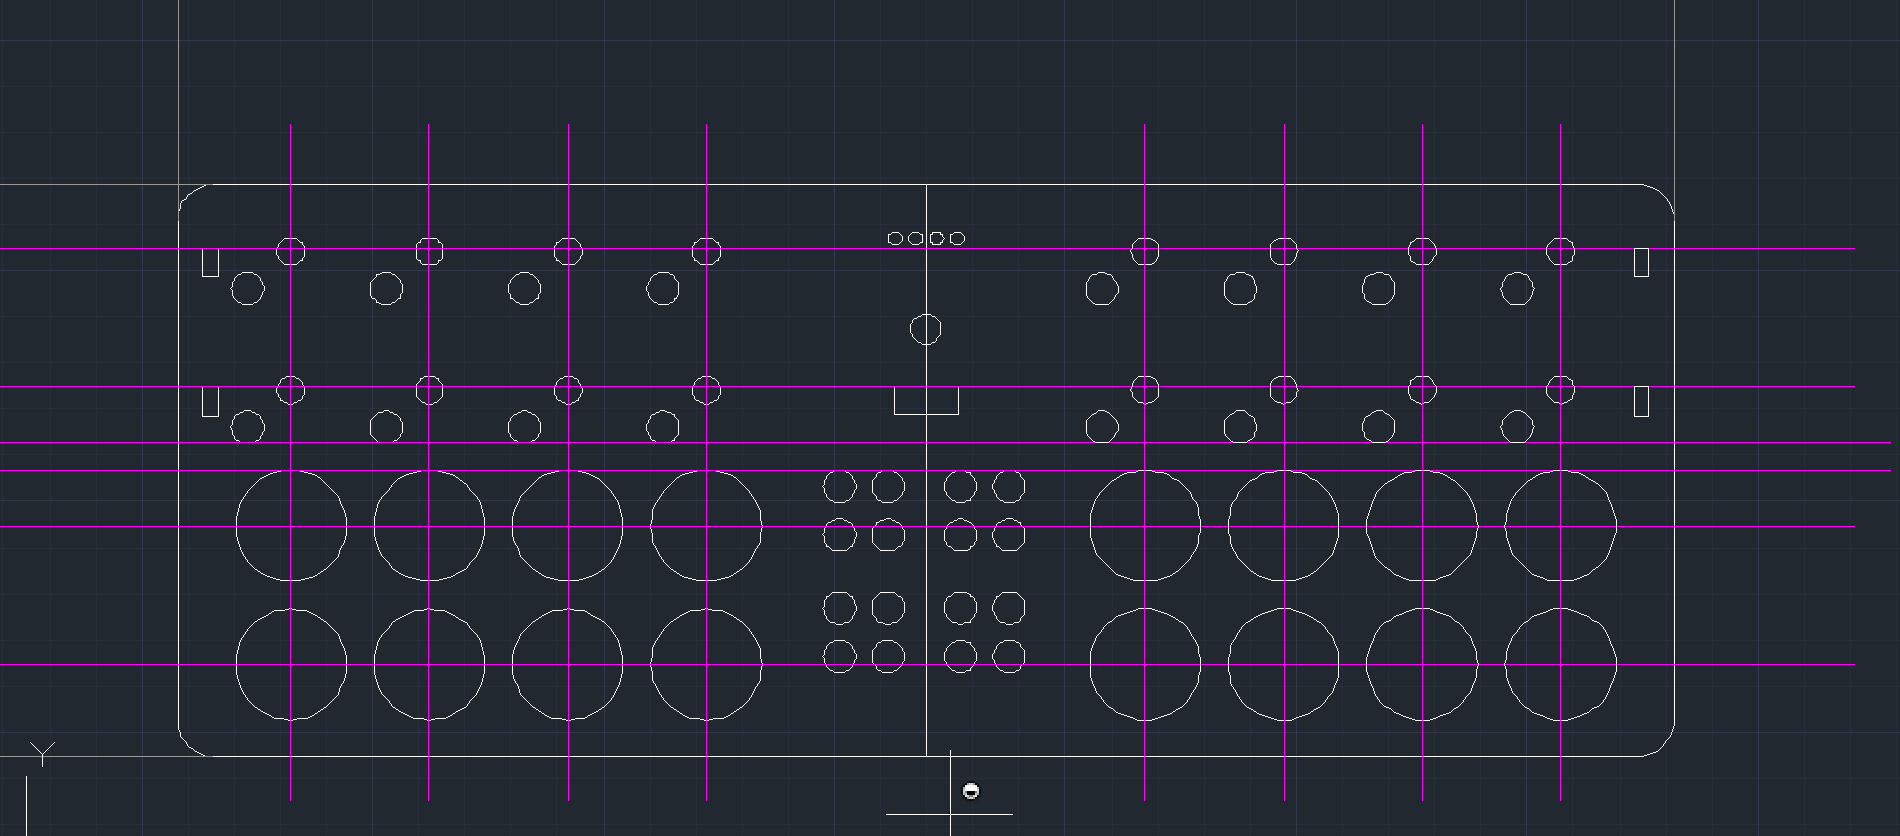
- 10-08-15 Complete design in auto cad for lasercutter
- 15-08-15 Finish and order PCB
- 25-08-15 Cast buttons in custom mold.
- 01-09-15 Send files to lasercutter (and possibly 3d printer)
- 20-09-15 Finalize software design
Technical details
Brain: Teensy 3.1 (opens new window) Material case: Three layers of 2mm acrylic
Build log
28/8
Ordered all parts except for the arcadebuttons (they are out of stock) just started on the first PCB design and have just finished the top layer of acrylic:29/8
29/8
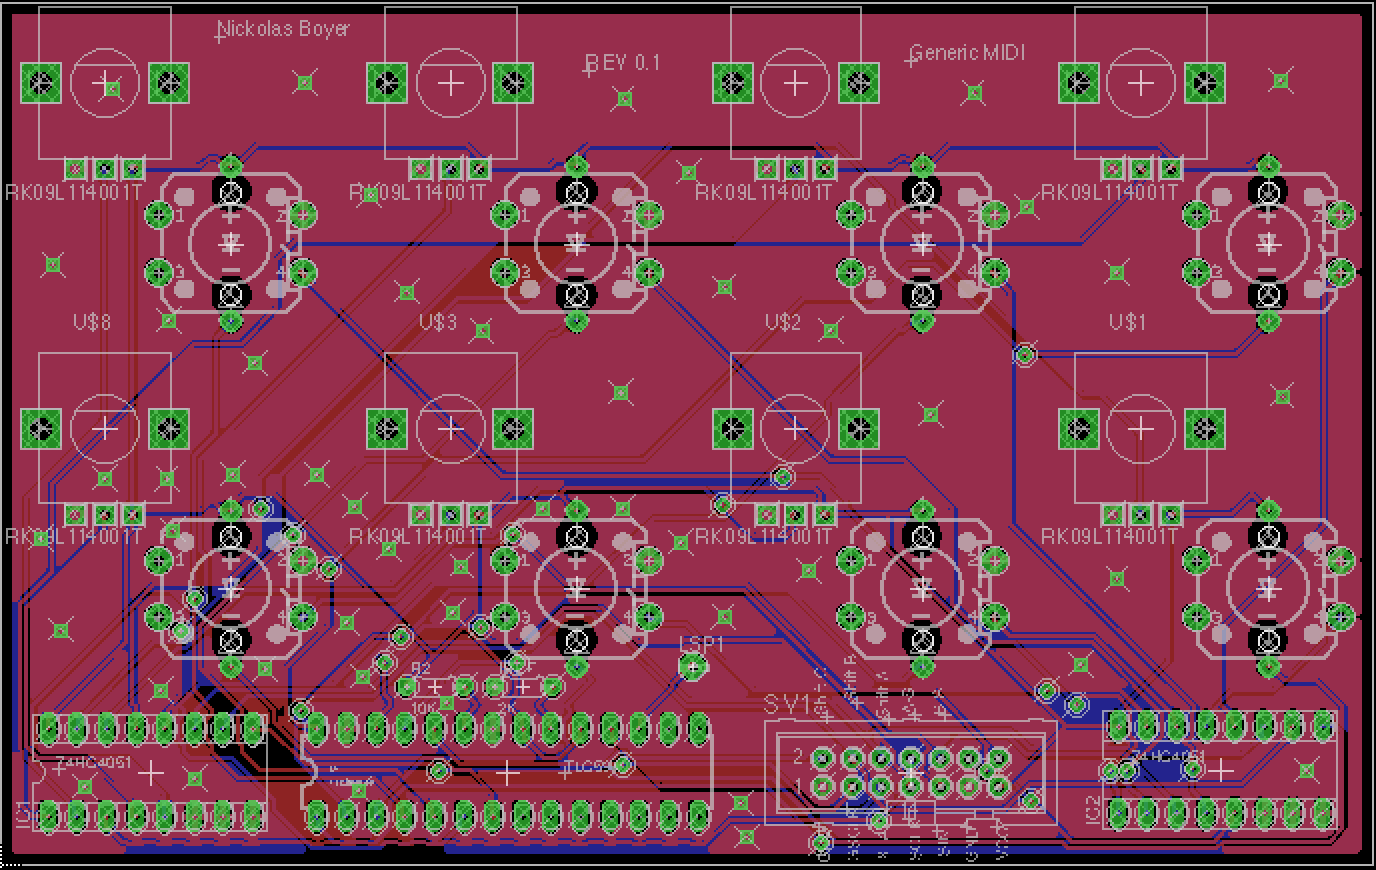
Ordered the fist PCB: (professionals be like 🤨 when they see this)
30/8
Made a concept for the 3d-printed case, final design is going to be made in autoCAD:
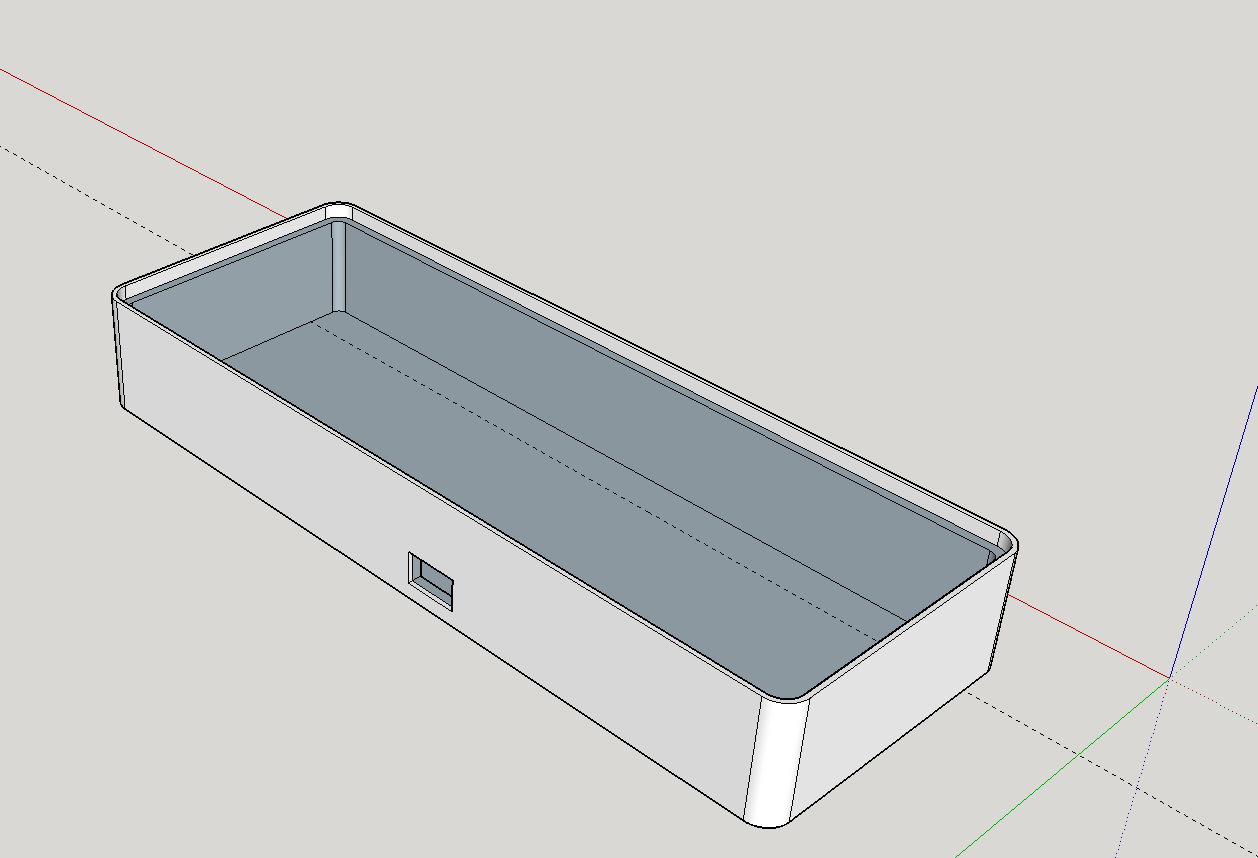
Finished the design in autoCAD but upon requesting a quote it appeared to cost $276.83 so I'm going with bent acrylic
31/8
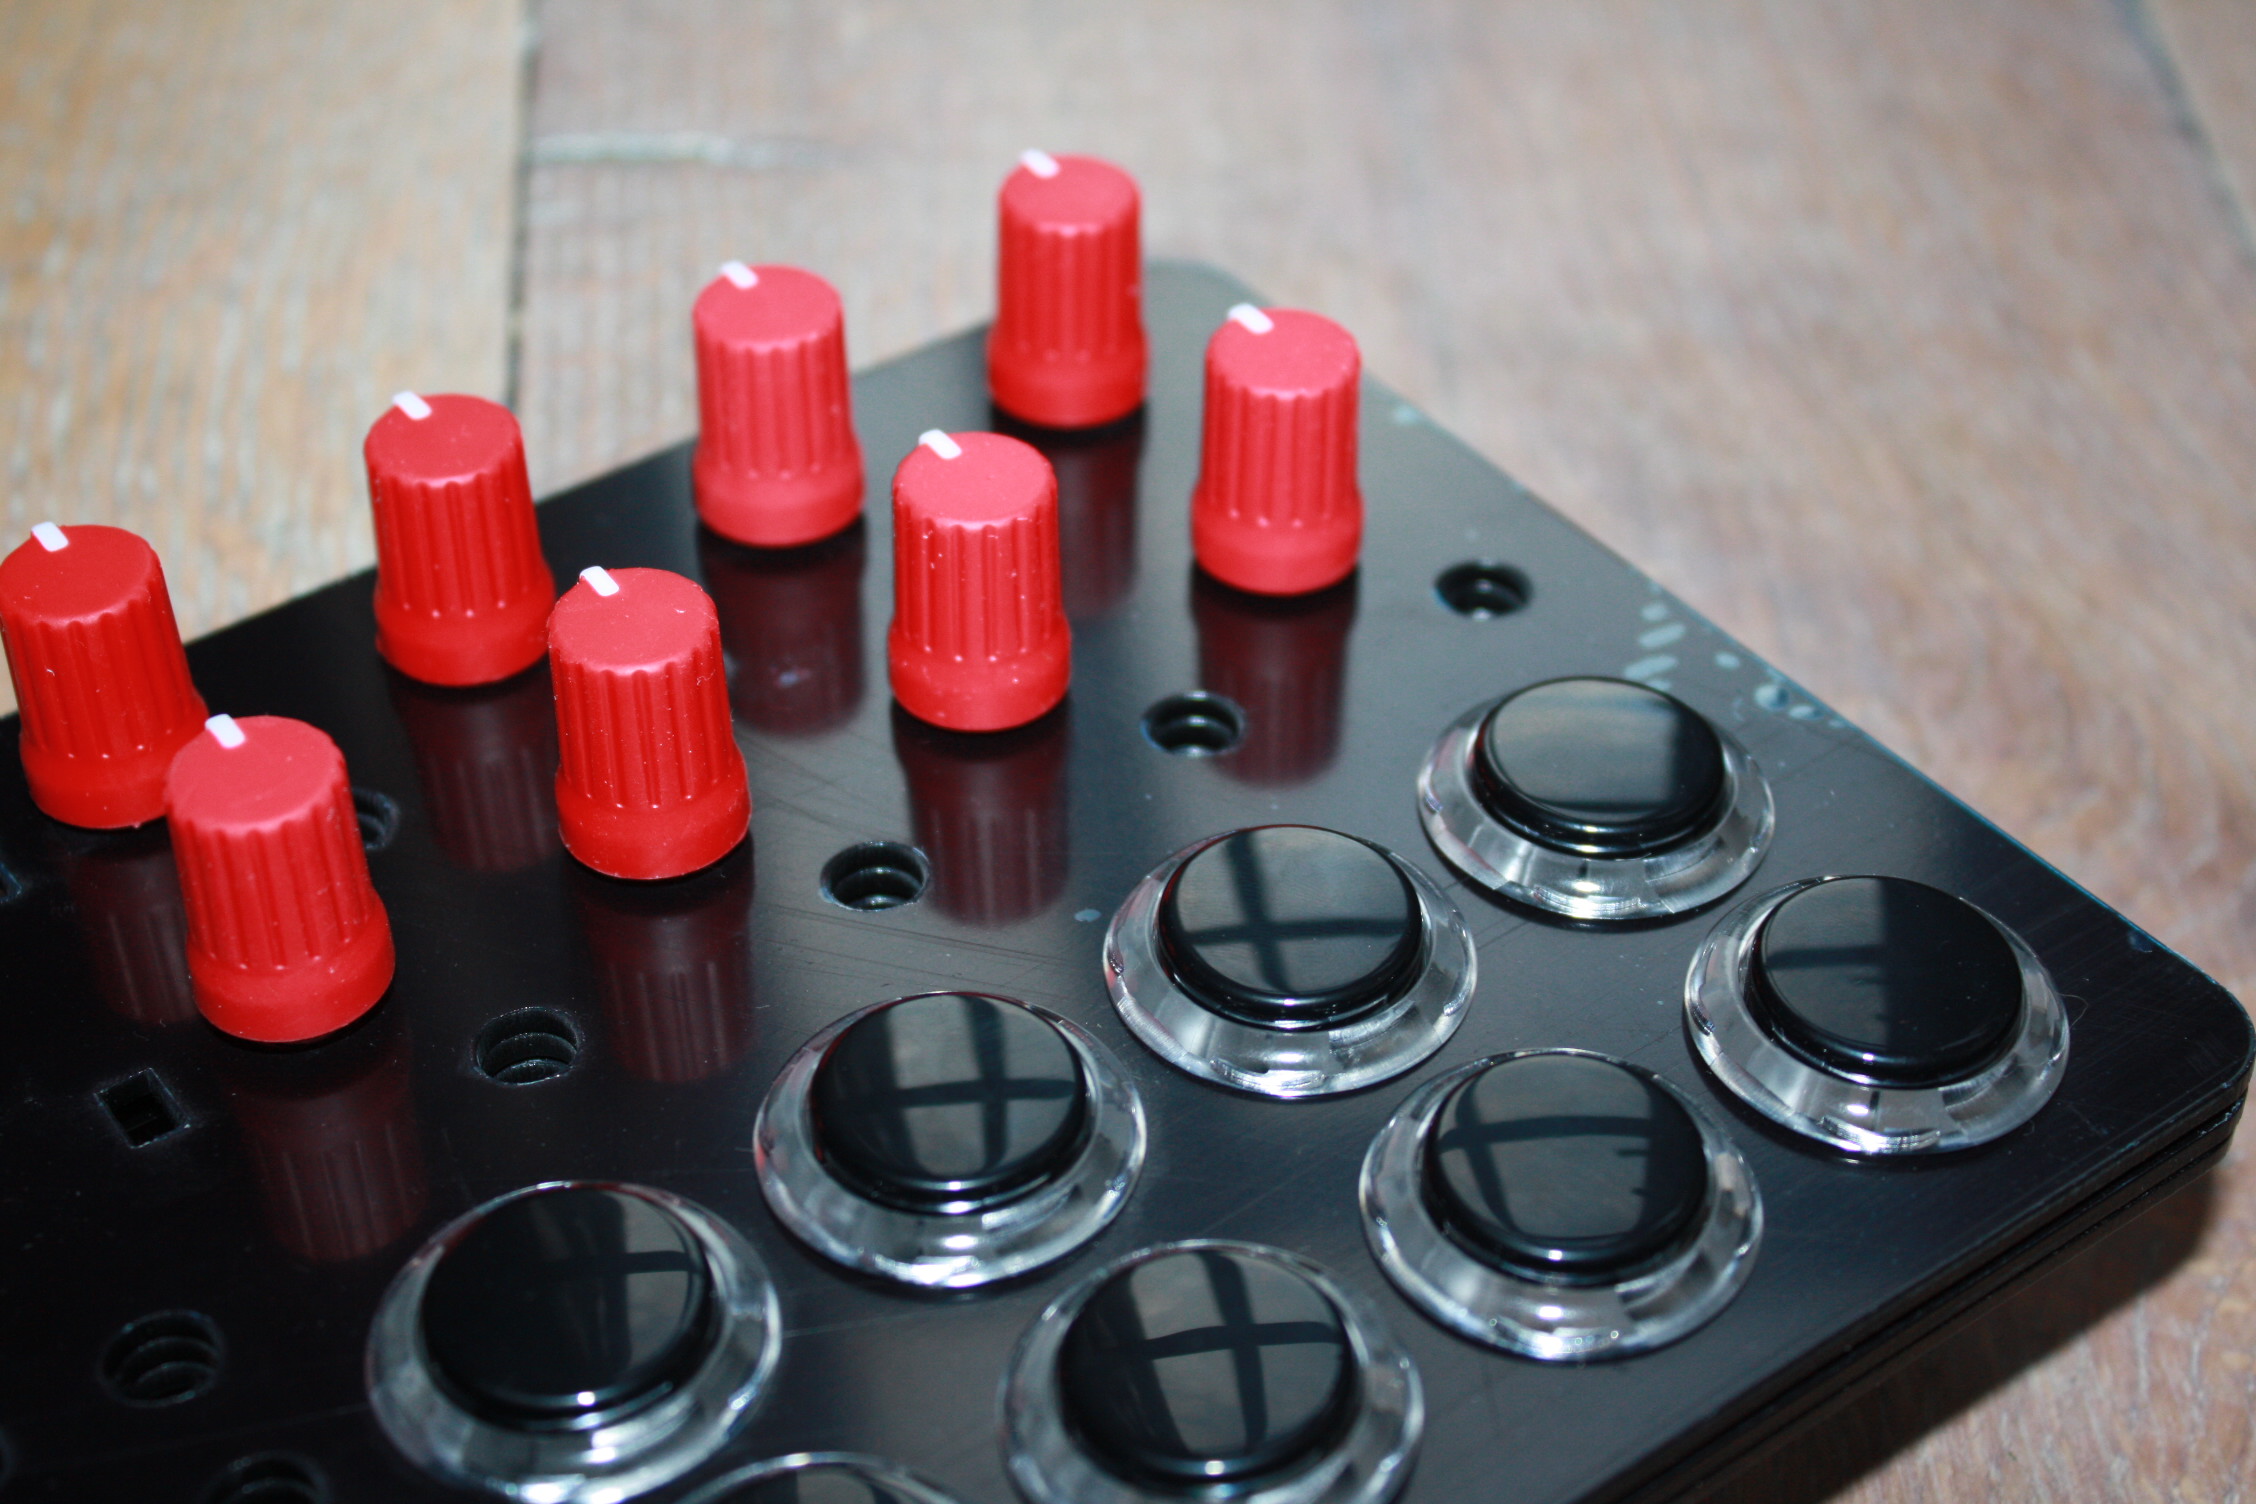
Ordered the Chroma Caps:

12/9
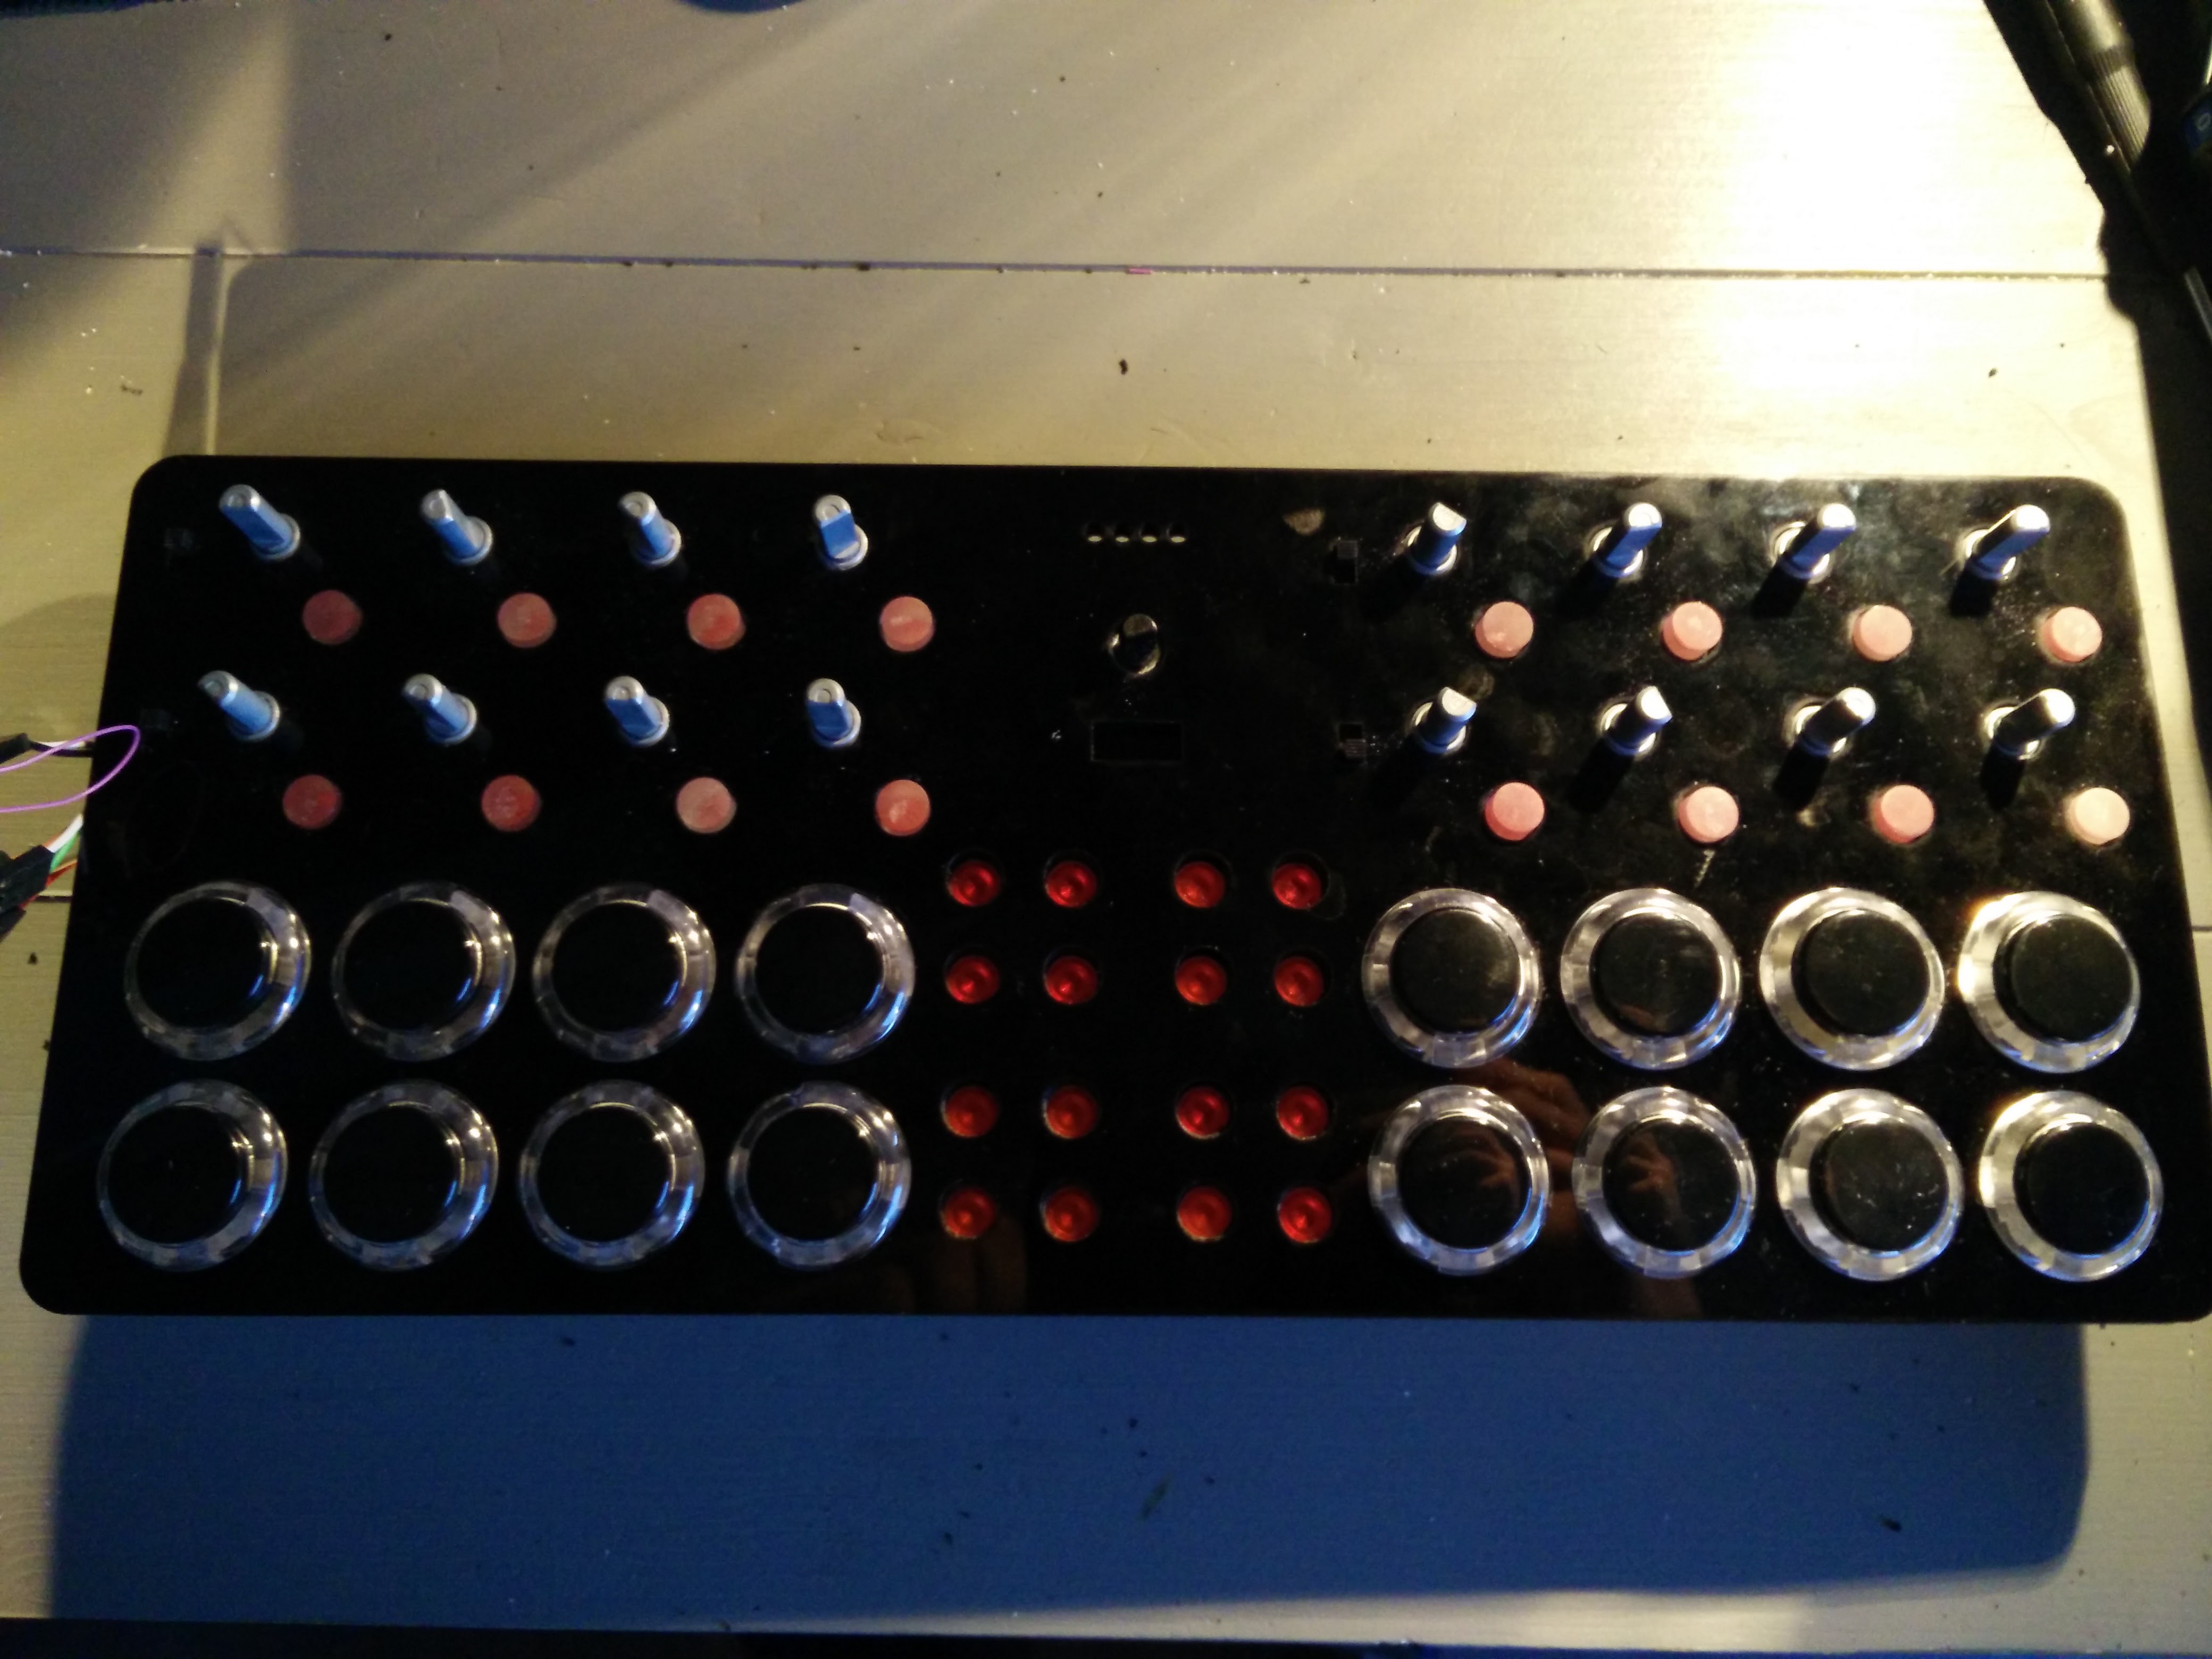
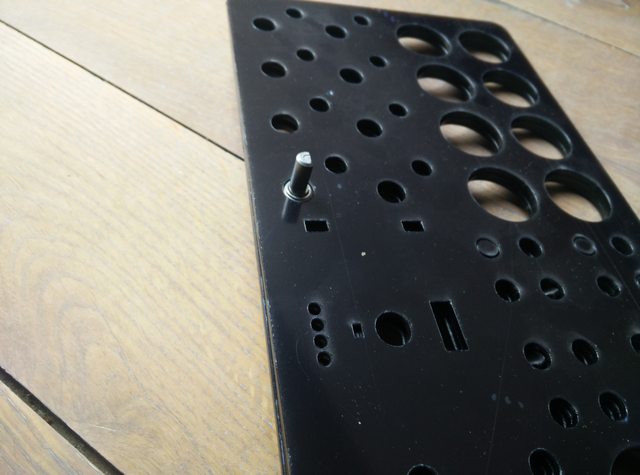
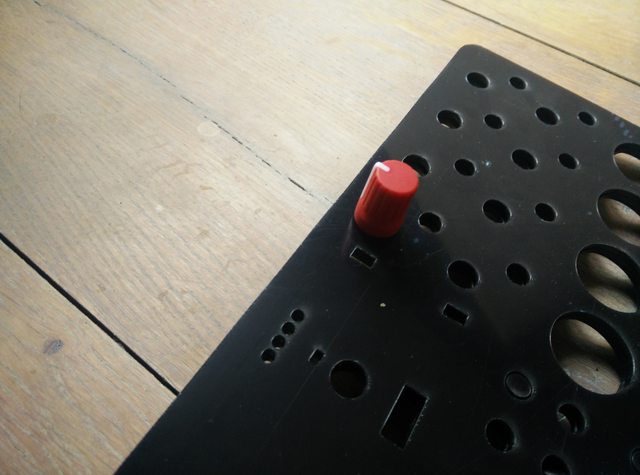
Received the lasercut parts: (final device is going to be grey with red):
09/16
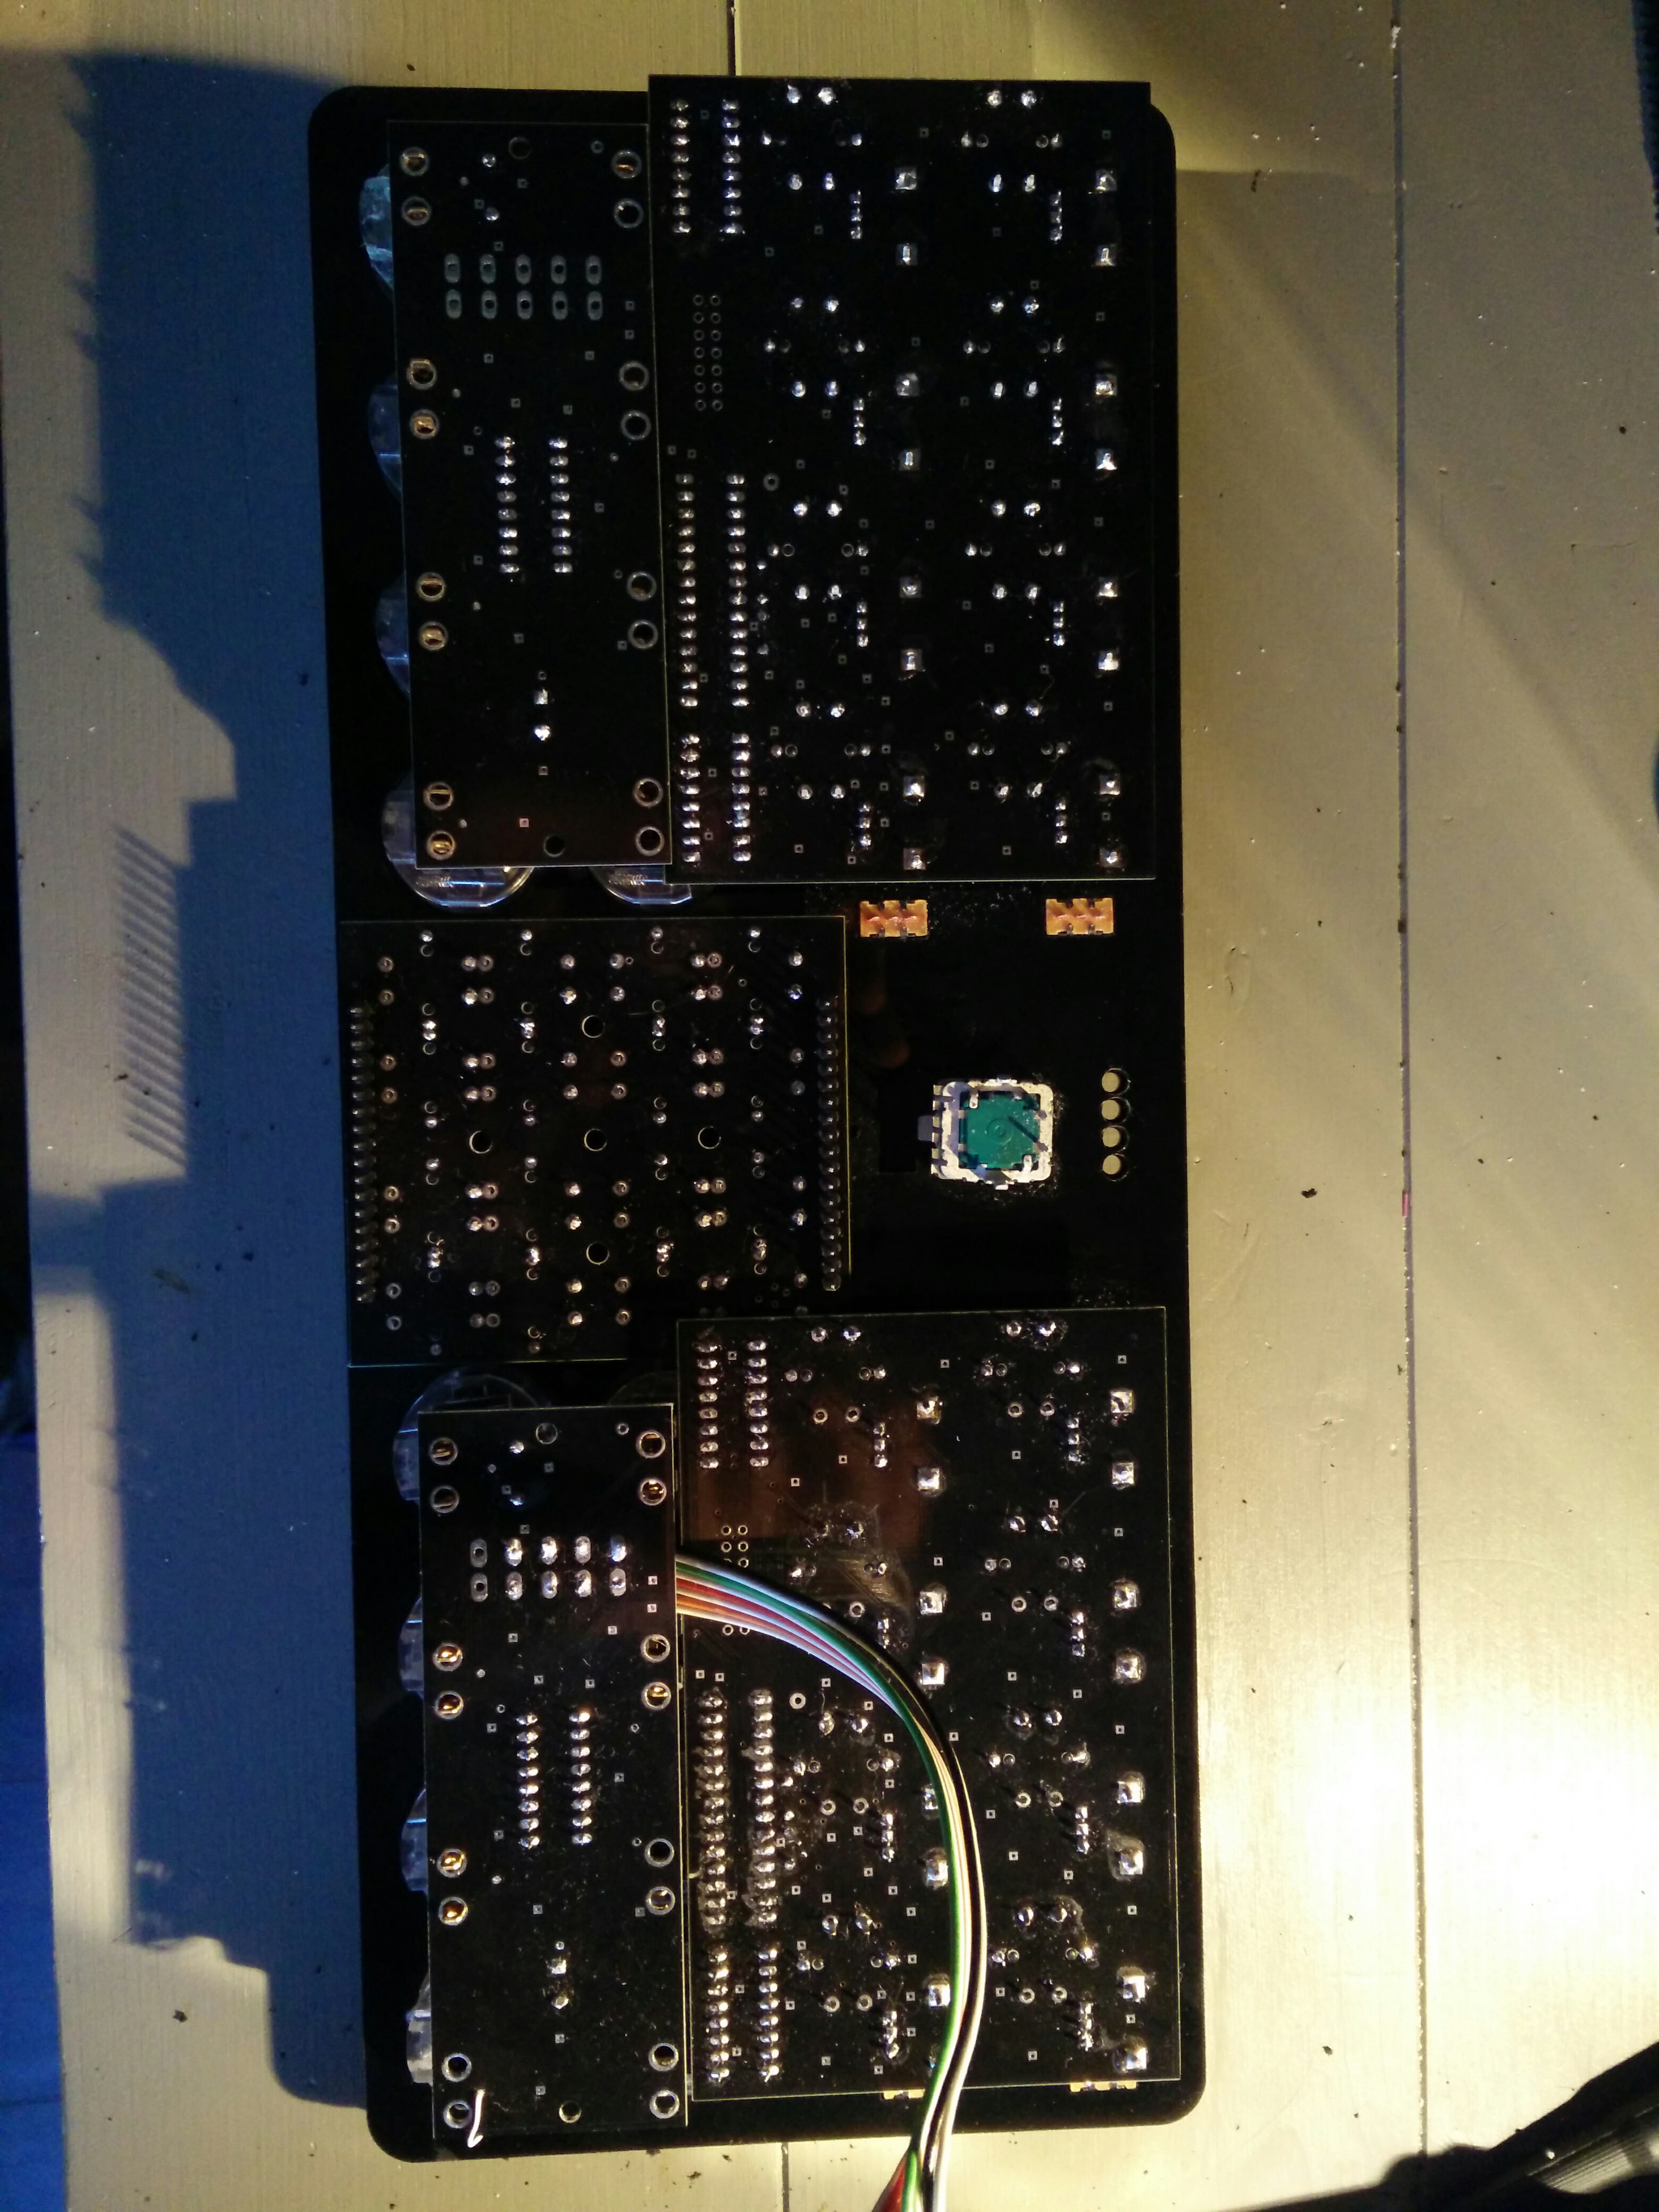
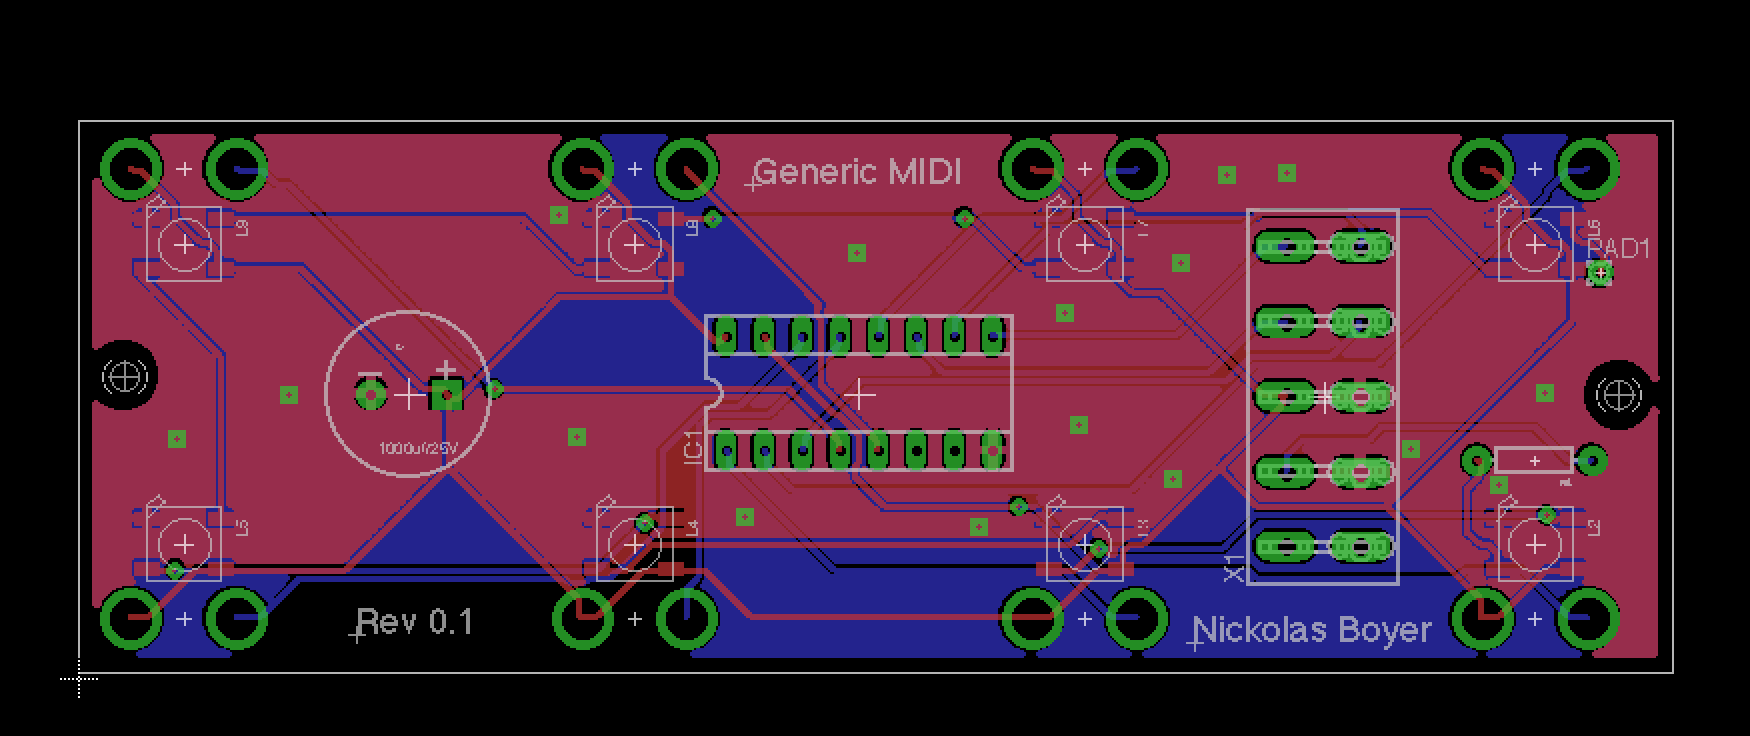
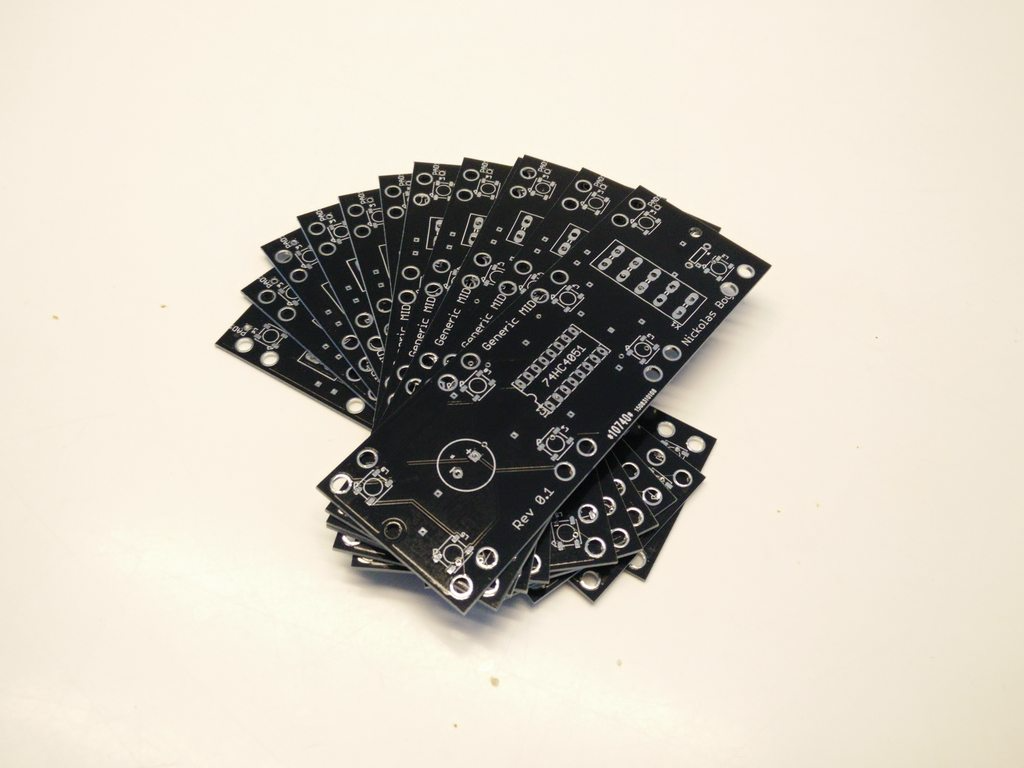
Got the PCB's in the mail, going to check them later but they look OK.
09/17
Got the buttons from focus attack for......... here it comes...... $7 a piece! wow! this sucks
This however does not:
09/19
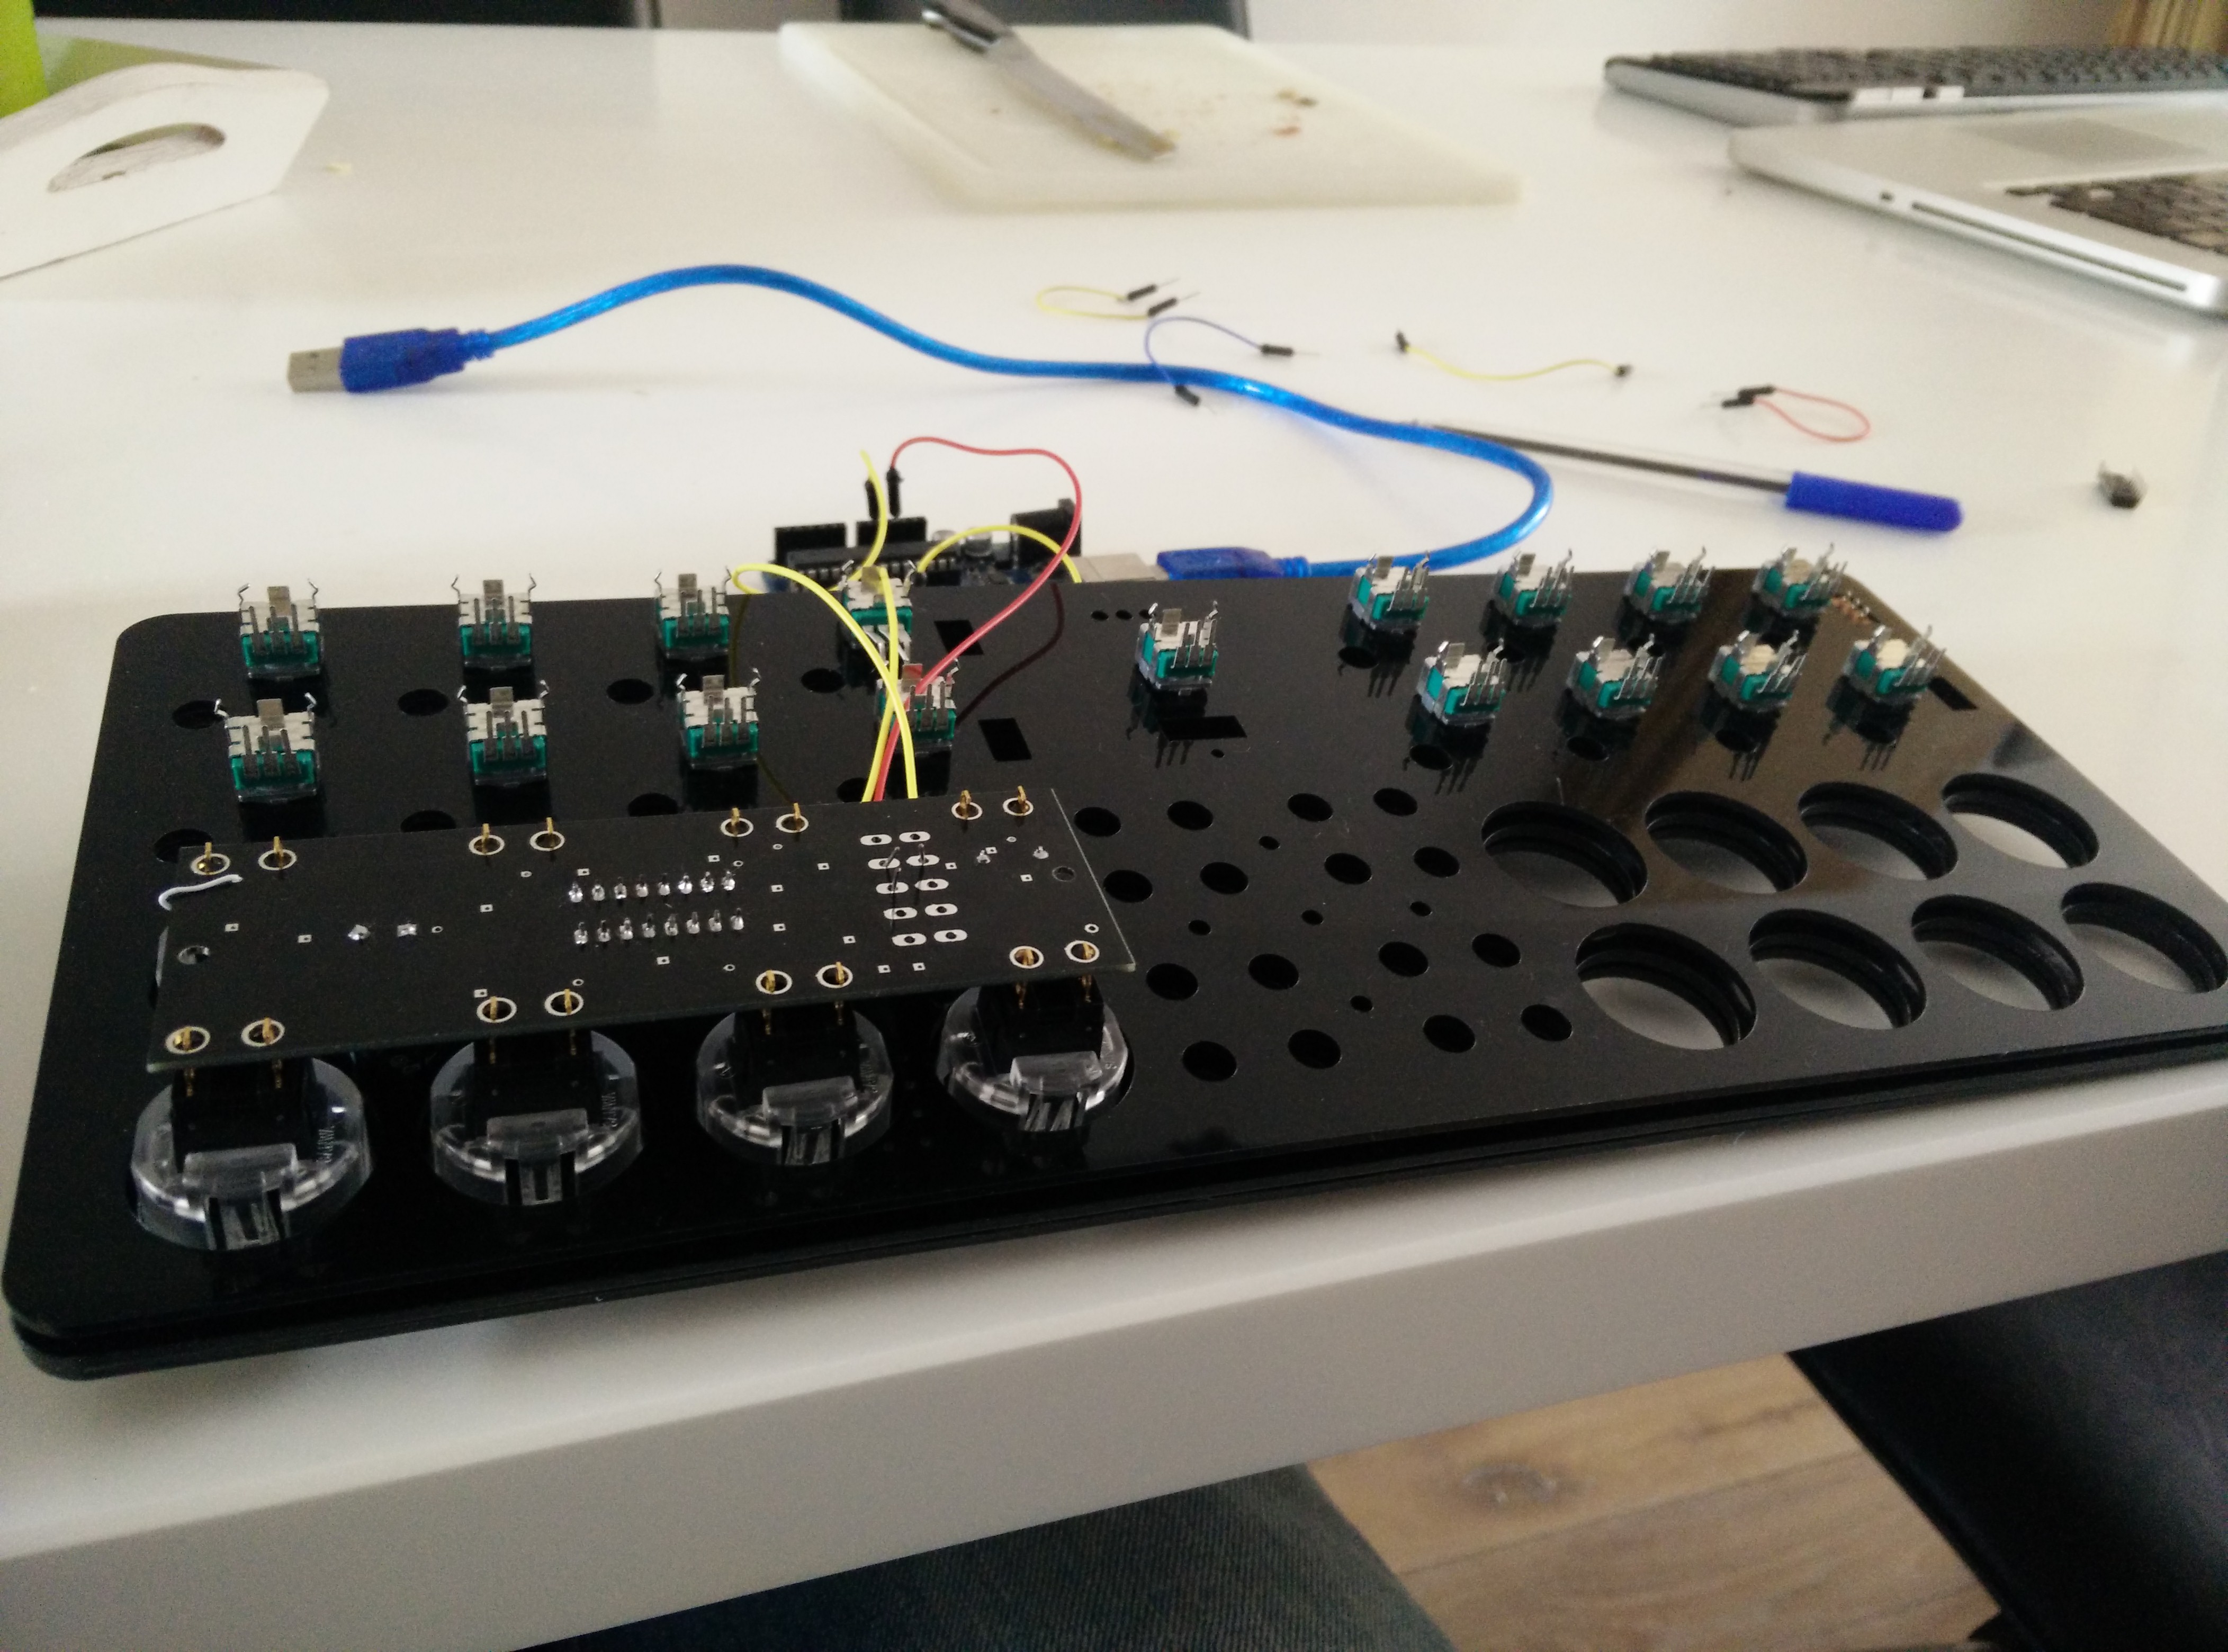
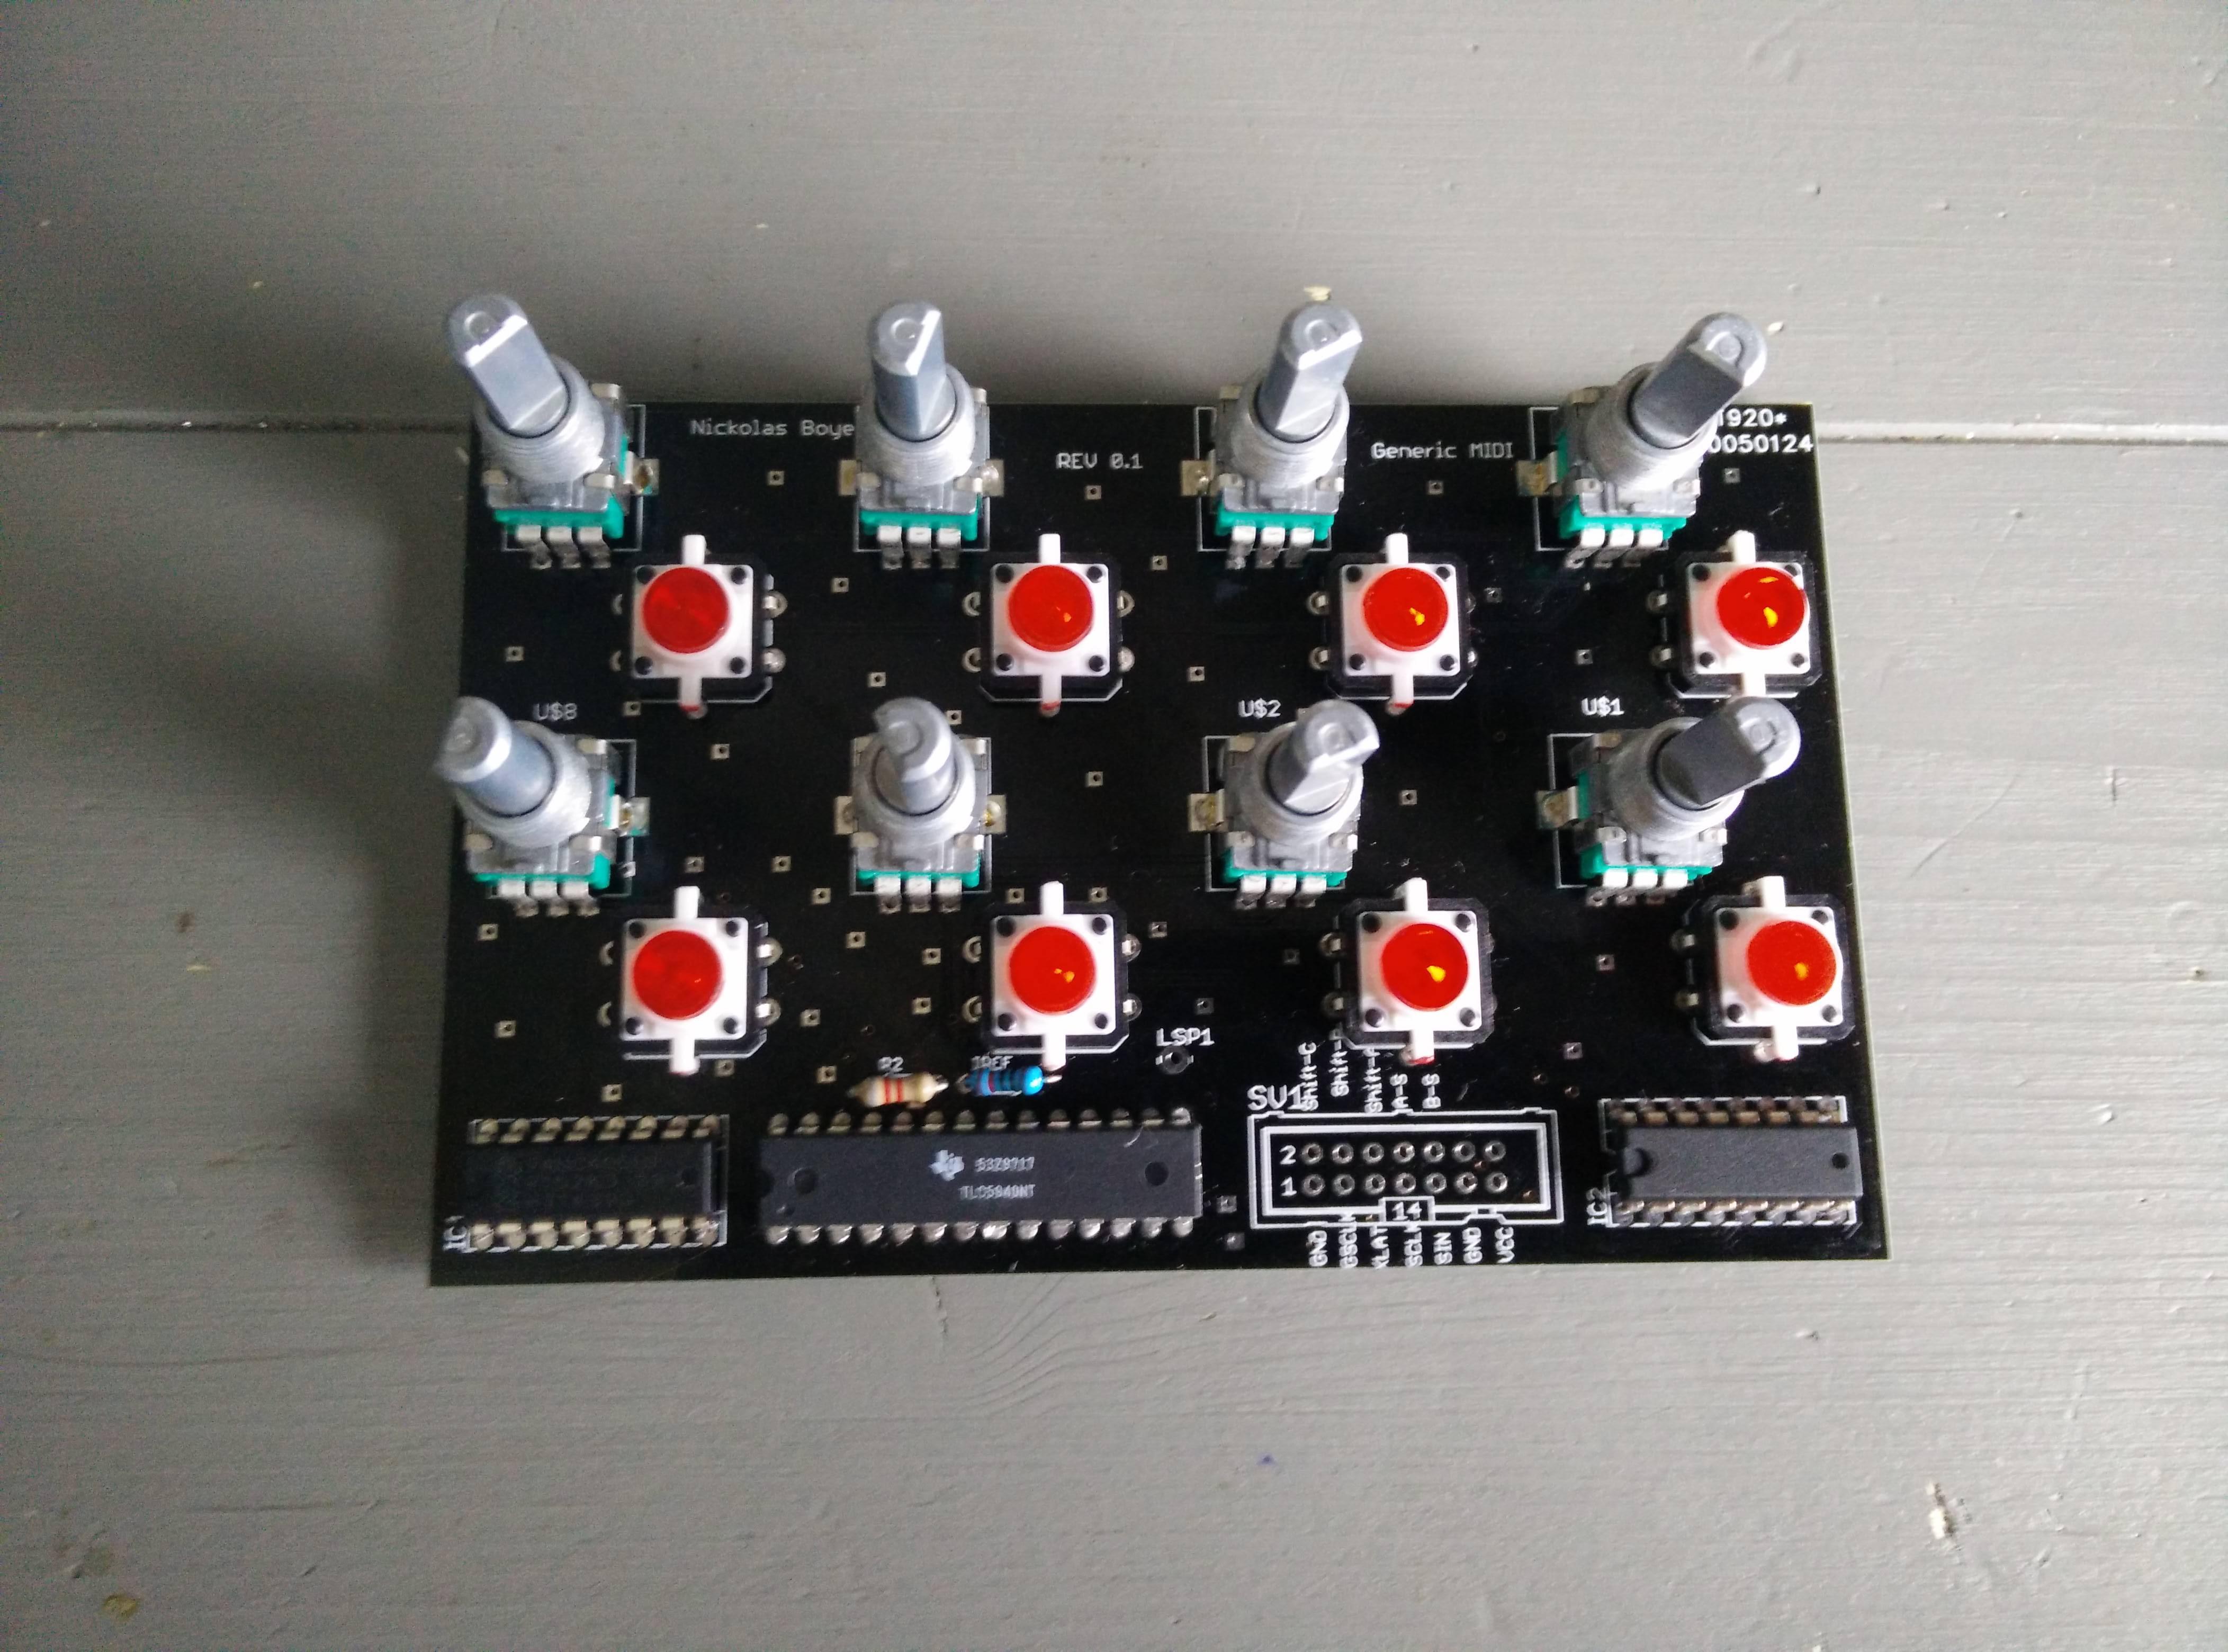
Assembled the button PCB's and tested them:
10/02
Finished the PCB for the potentiometers.
10/25
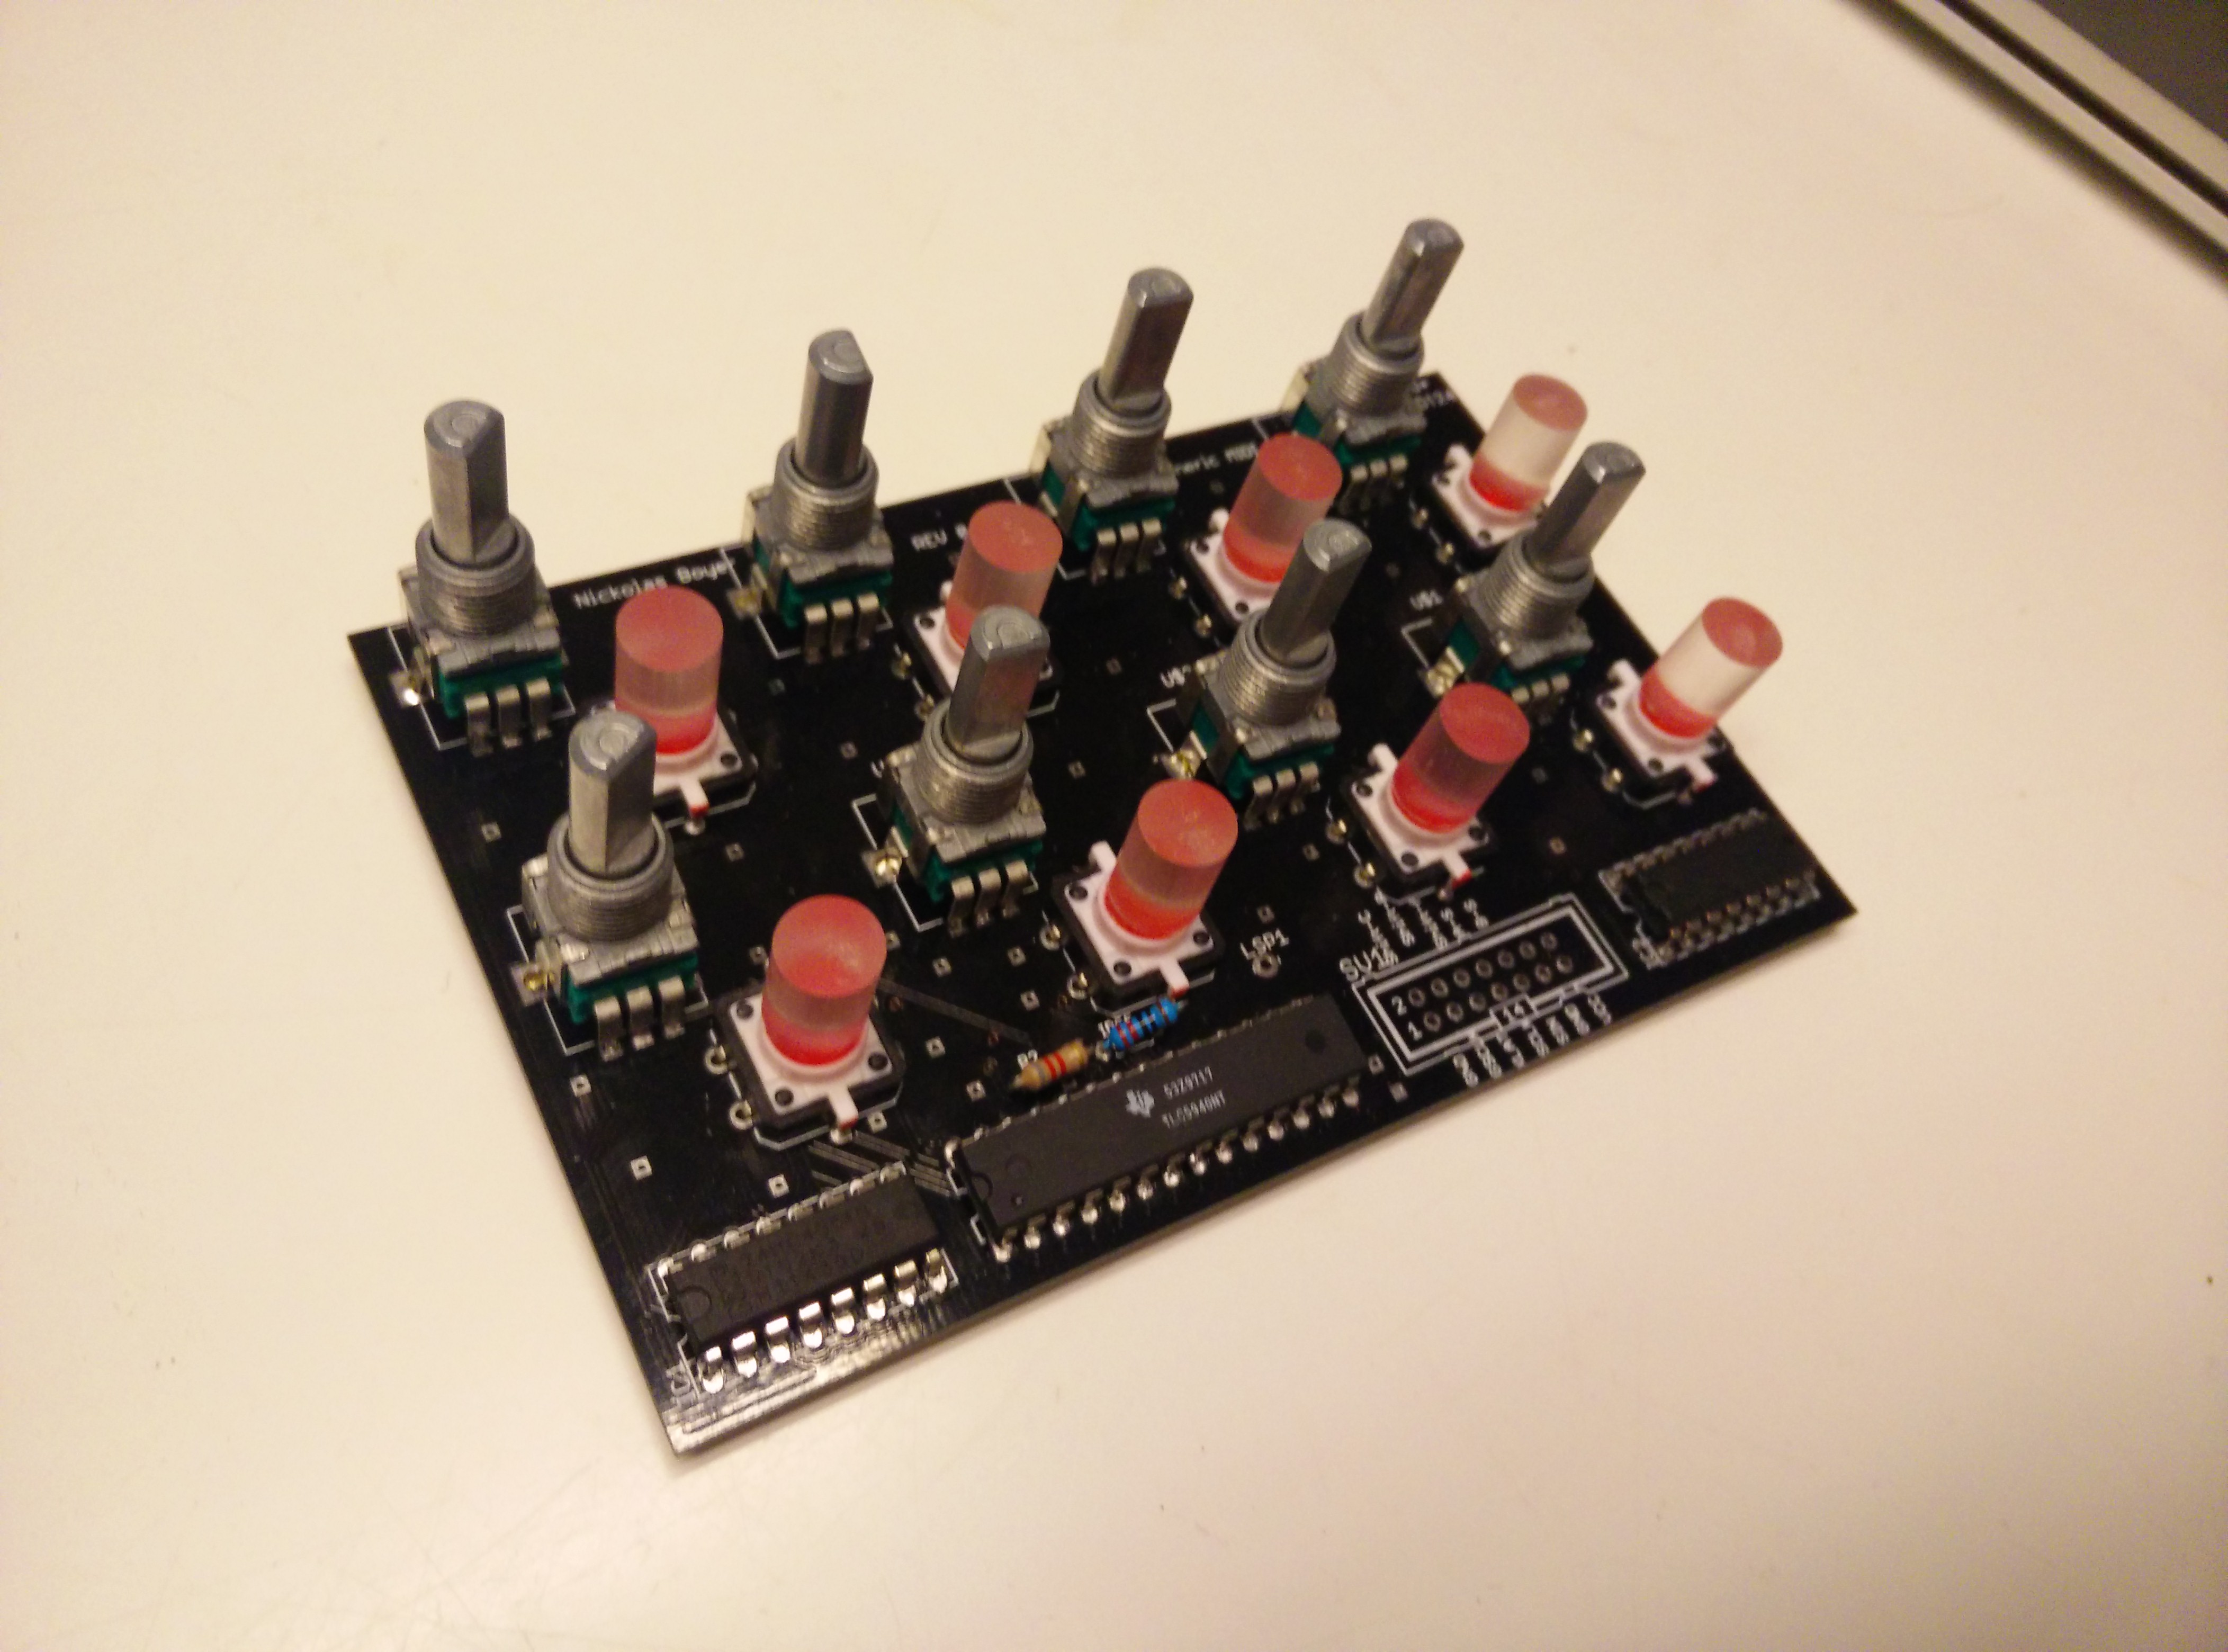
Assembled the PCB for the Pot's:
11/7
Finally found a place that sold transparant plastic (acrylic) rods with a small diameter in small quantity's, had to enlarge the holes though (with a drill bit 0.5 mm a time * 80 times) then i had to saw this rod in tiny matching pieces (saw, sand the end of the rod and saw the next piece using a saw box). Then I used superglue to glue these on, on the first two i used too much so I had to remove these buttons.
11/14
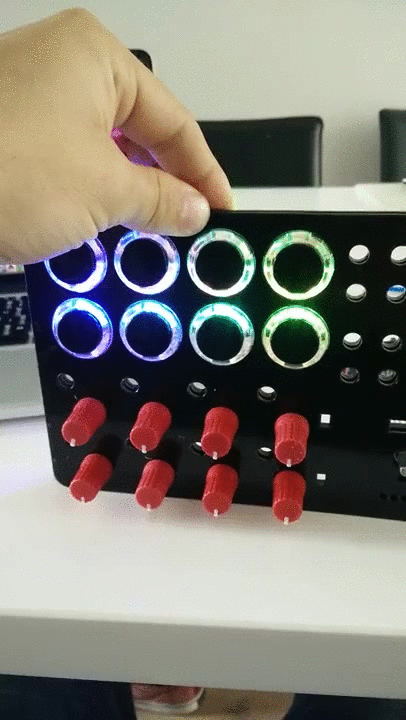
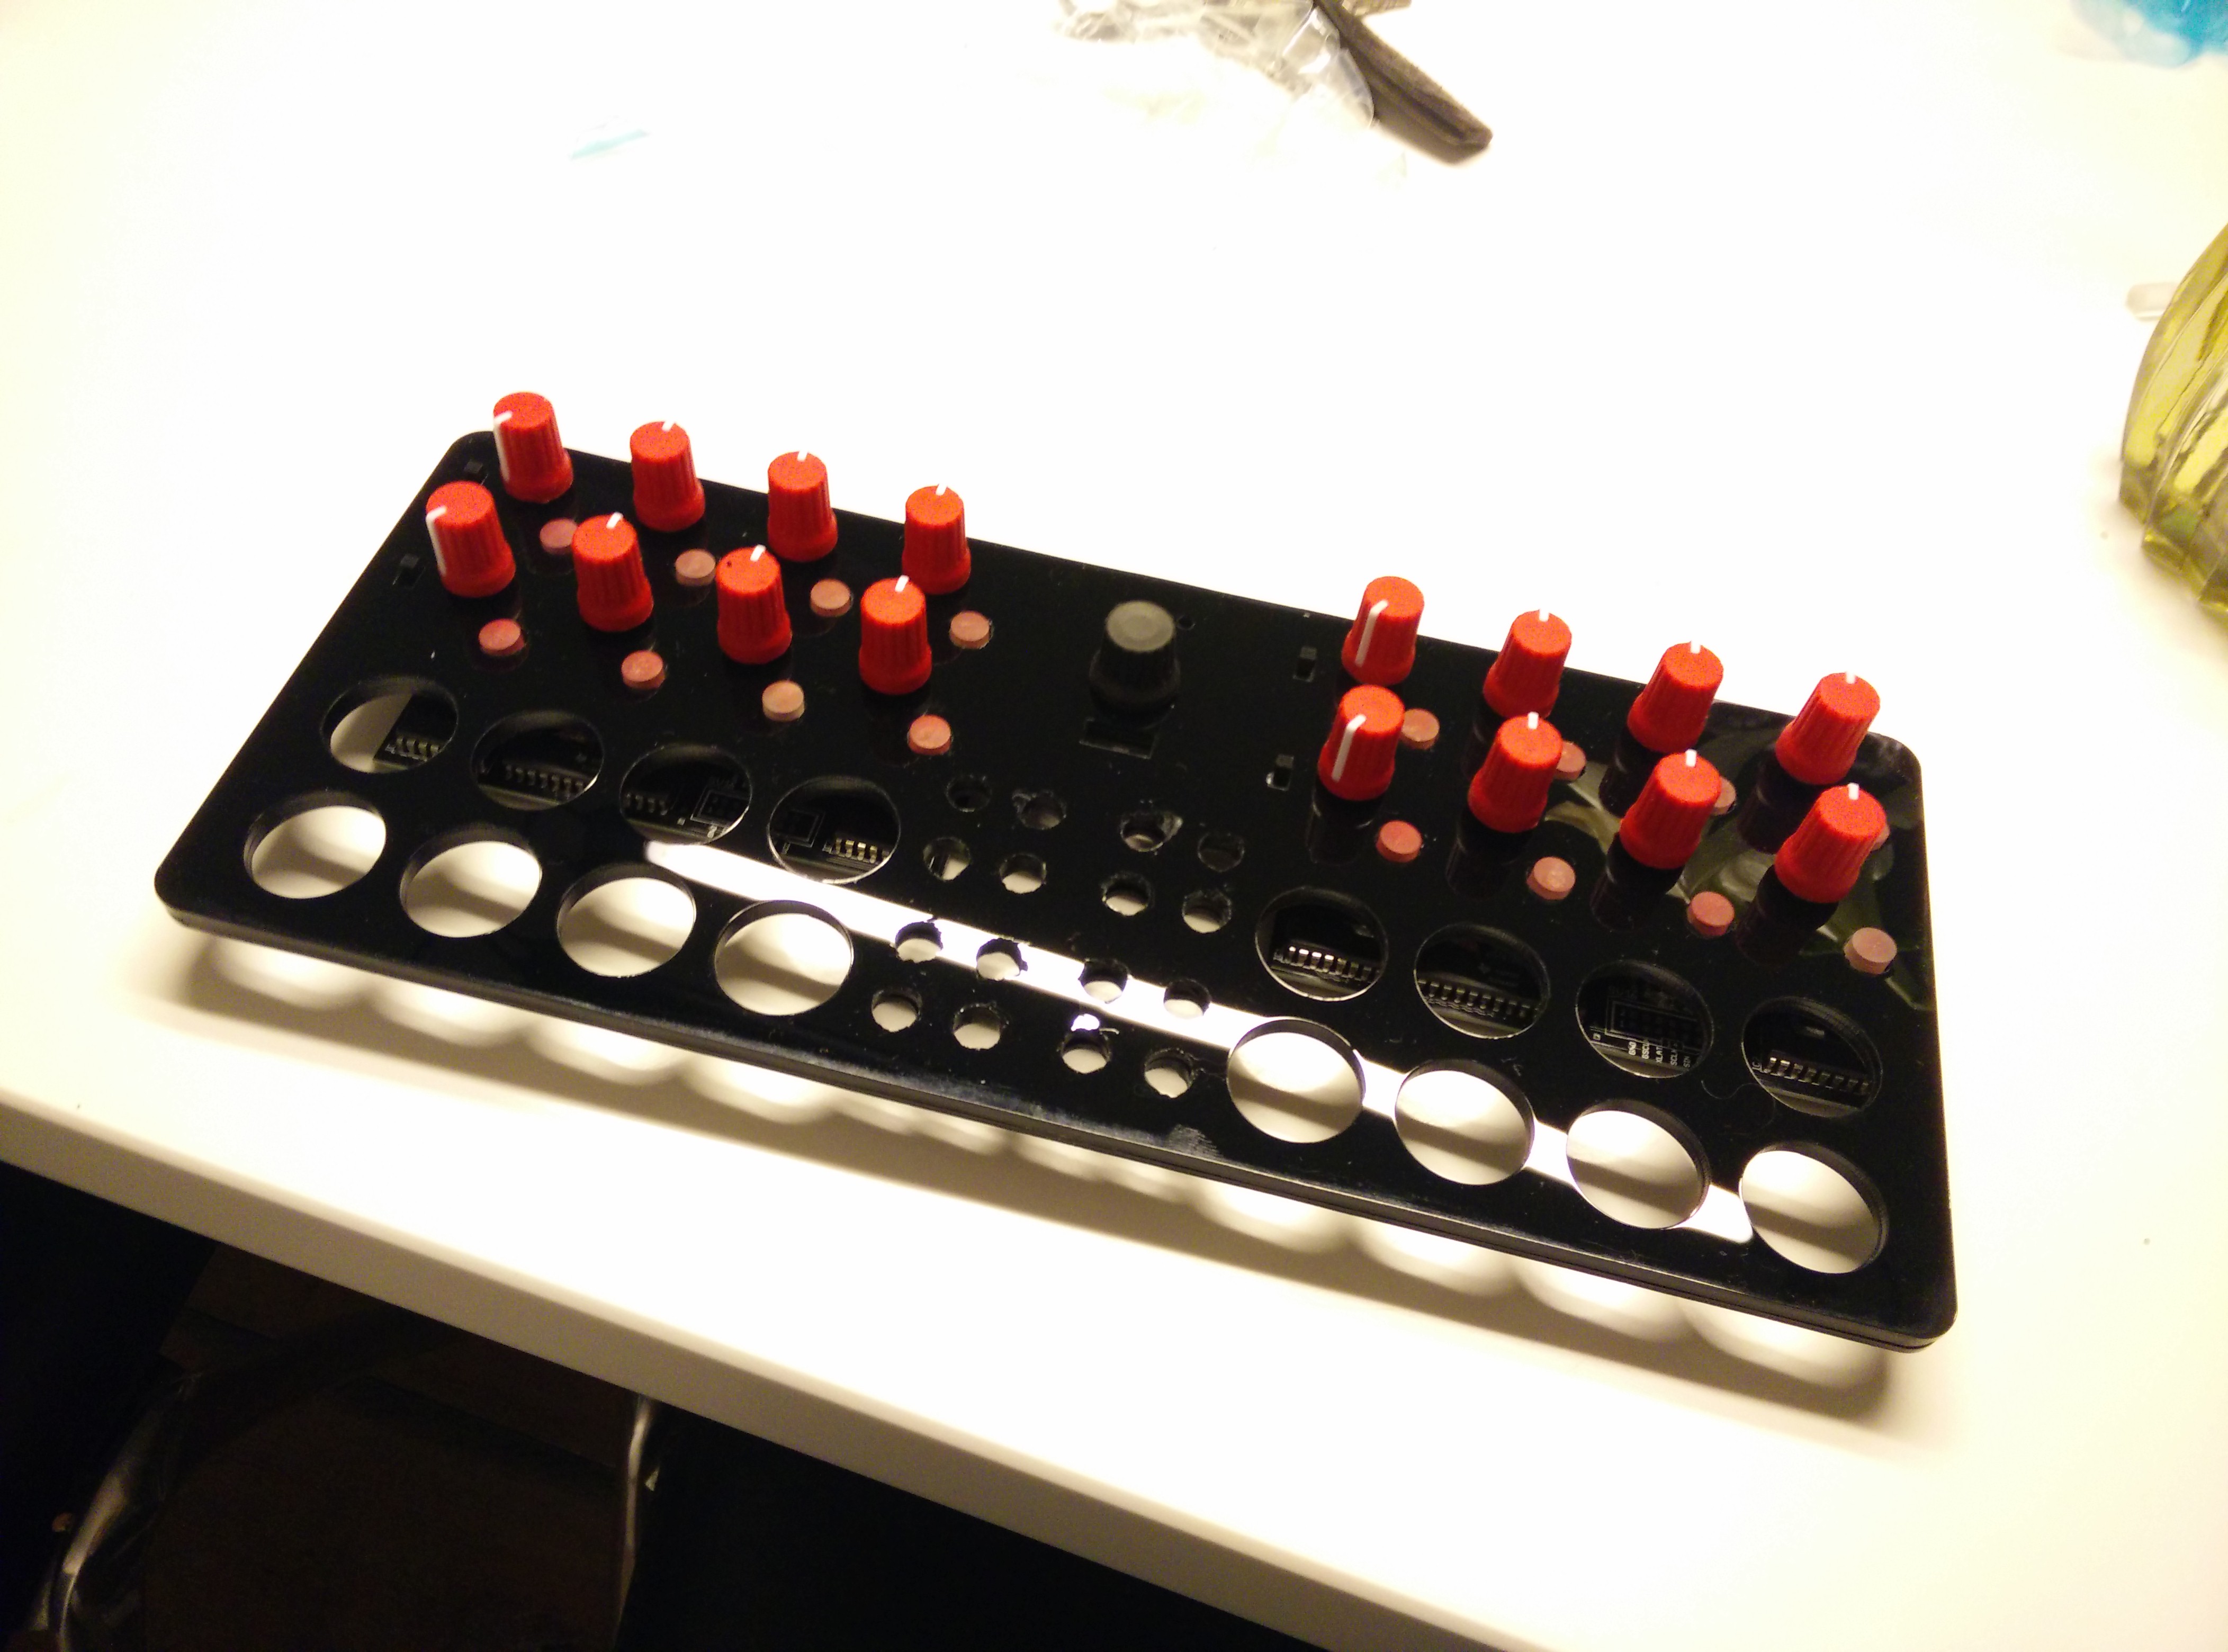
Finished smaller buttons:
20/01
Shitty pic's are better than no pic's😁, progress is slow especially since I'm in the middle of moving to Leiden.